
On this page
- Plan for the moment you stop walking
- Understand the different shelter types
- Check fit with the people who will use it
- Pack the supporting equipment
- Use a deliberate deployment sequence
- Keep faces and vents clear
- Know when shelter is not enough
- Run a short practice on an ordinary day
- Before the next walk
- Common questions
- Sources
Plan for the moment you stop walking
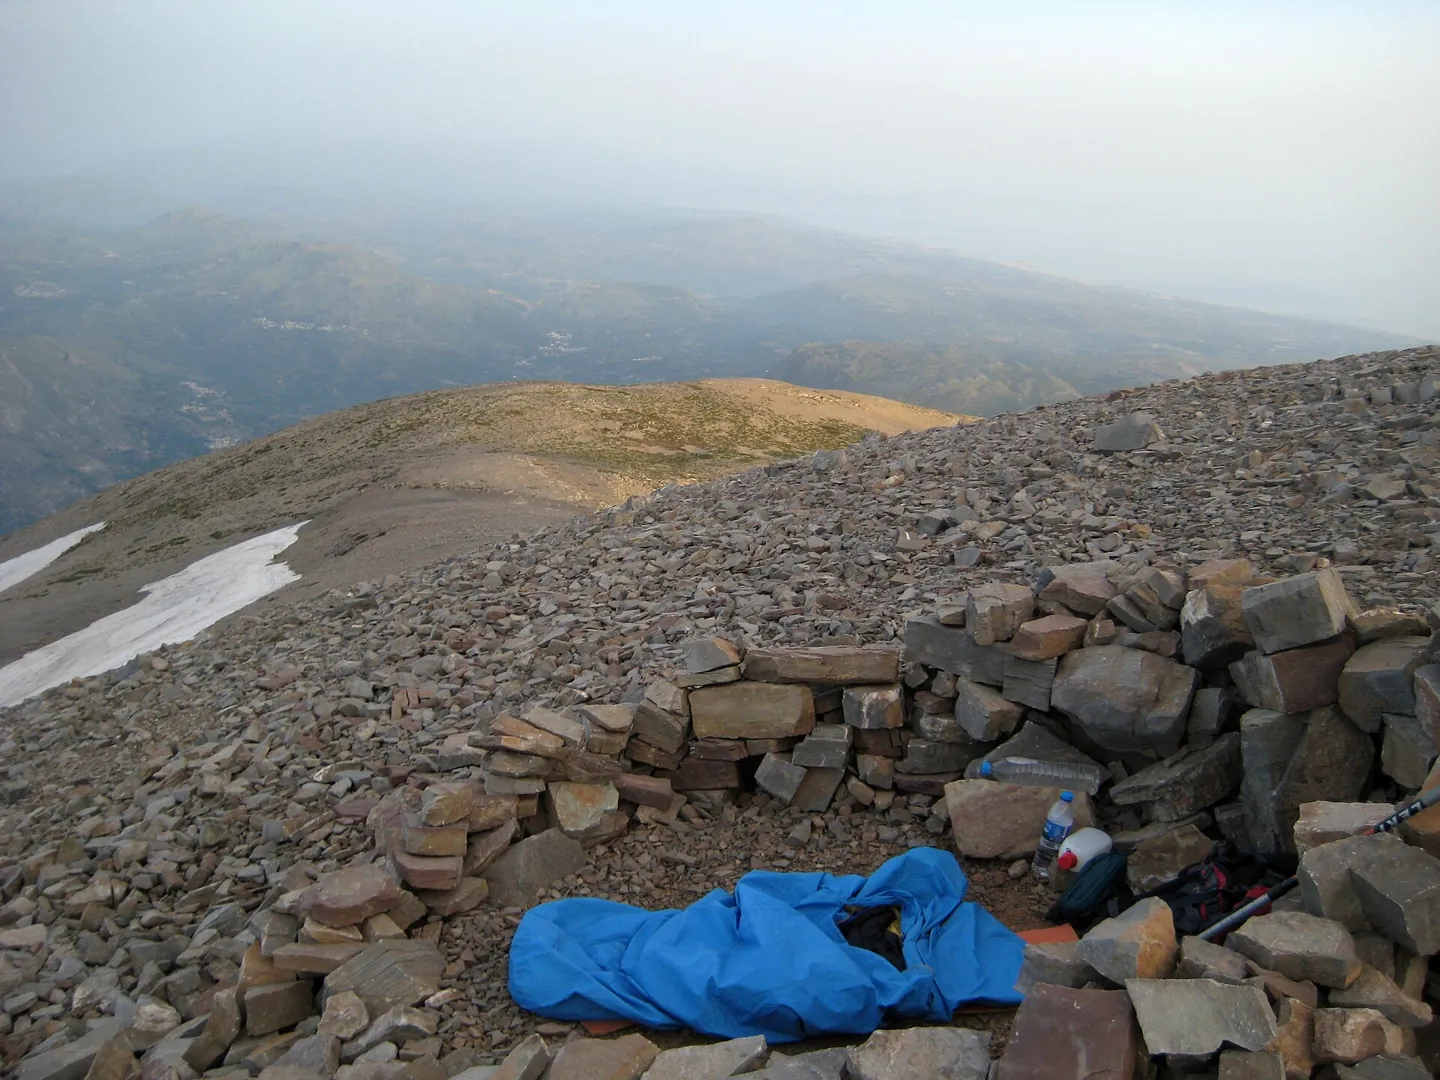
Walking generates warmth. An injured ankle, navigation error or long wait changes the problem because the group is now stationary in the same wind and rain. An emergency shelter gives you a way to reduce exposure while you assess the situation or await assistance. Carrying one is useful on a day walk even when sleeping outside is not the plan.
Do not treat the word "survival" as a performance rating. A thin reflective bag, a reusable waterproof bivvy and a group shelter have different purposes. None establishes how long a particular person can remain safe in particular weather. The useful buying question is what happens when the whole group has to stop, including whoever cannot sit or move comfortably.
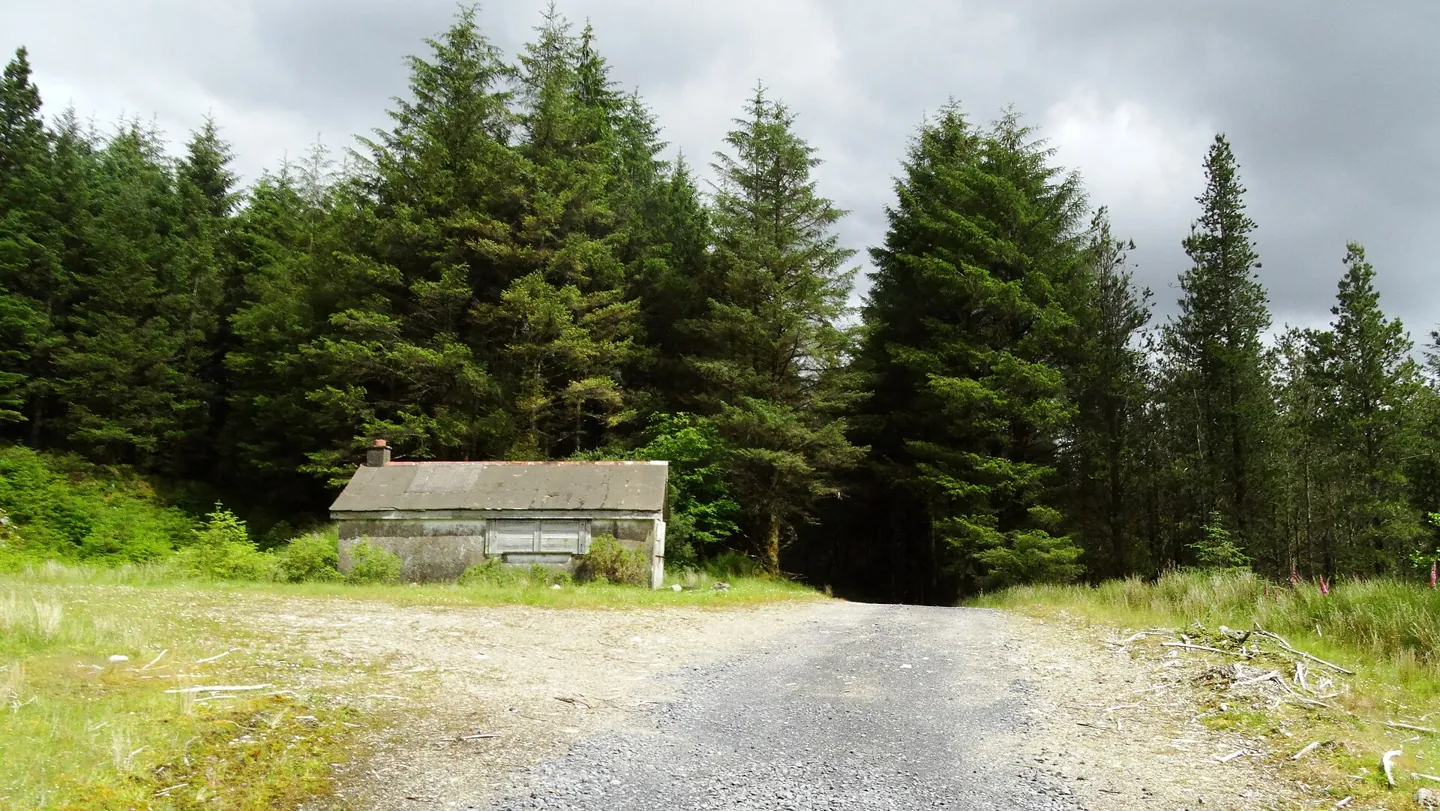
Mountaineering Scotland includes individual survival bags, spare warm layers and group shelter in its emergency kit guidance. It distinguishes equipment carried by each person from equipment carried for the group. That distinction helps avoid a group of six discovering that its only shelter fits two.

Full image attribution
Emergency Shelter on track, NE of Correen Beg, Nephin Beg Mtns - geograph.org.uk - 6330373.jpg — Colin Park; CC BY-SA 2.0. Resized and converted to WebP; source: https://commons.wikimedia.org/wiki/File:Emergency_Shelter_on_track,_NE_of_Correen_Beg,_Nephin_Beg_Mtns_-_geograph.org.uk_-_6330373.jpg
Understand the different shelter types
| Type | Useful role | Main limitation to examine |
|---|---|---|
| Thin survival bag | Compact personal wind and rain barrier | Tear resistance, condensation and ease of entry |
| Reusable bivvy bag | Individual enclosure with a more durable fabric | Actual size, openings, ventilation and whether insulation is included |
| Group shelter or bothy bag | Shared cover for a seated group | Capacity with clothing and equipment; suitability for an injured person |
| Tarp | Cover where there are suitable anchors and competent users | Time, exposure, pitching skill and terrain dependence |
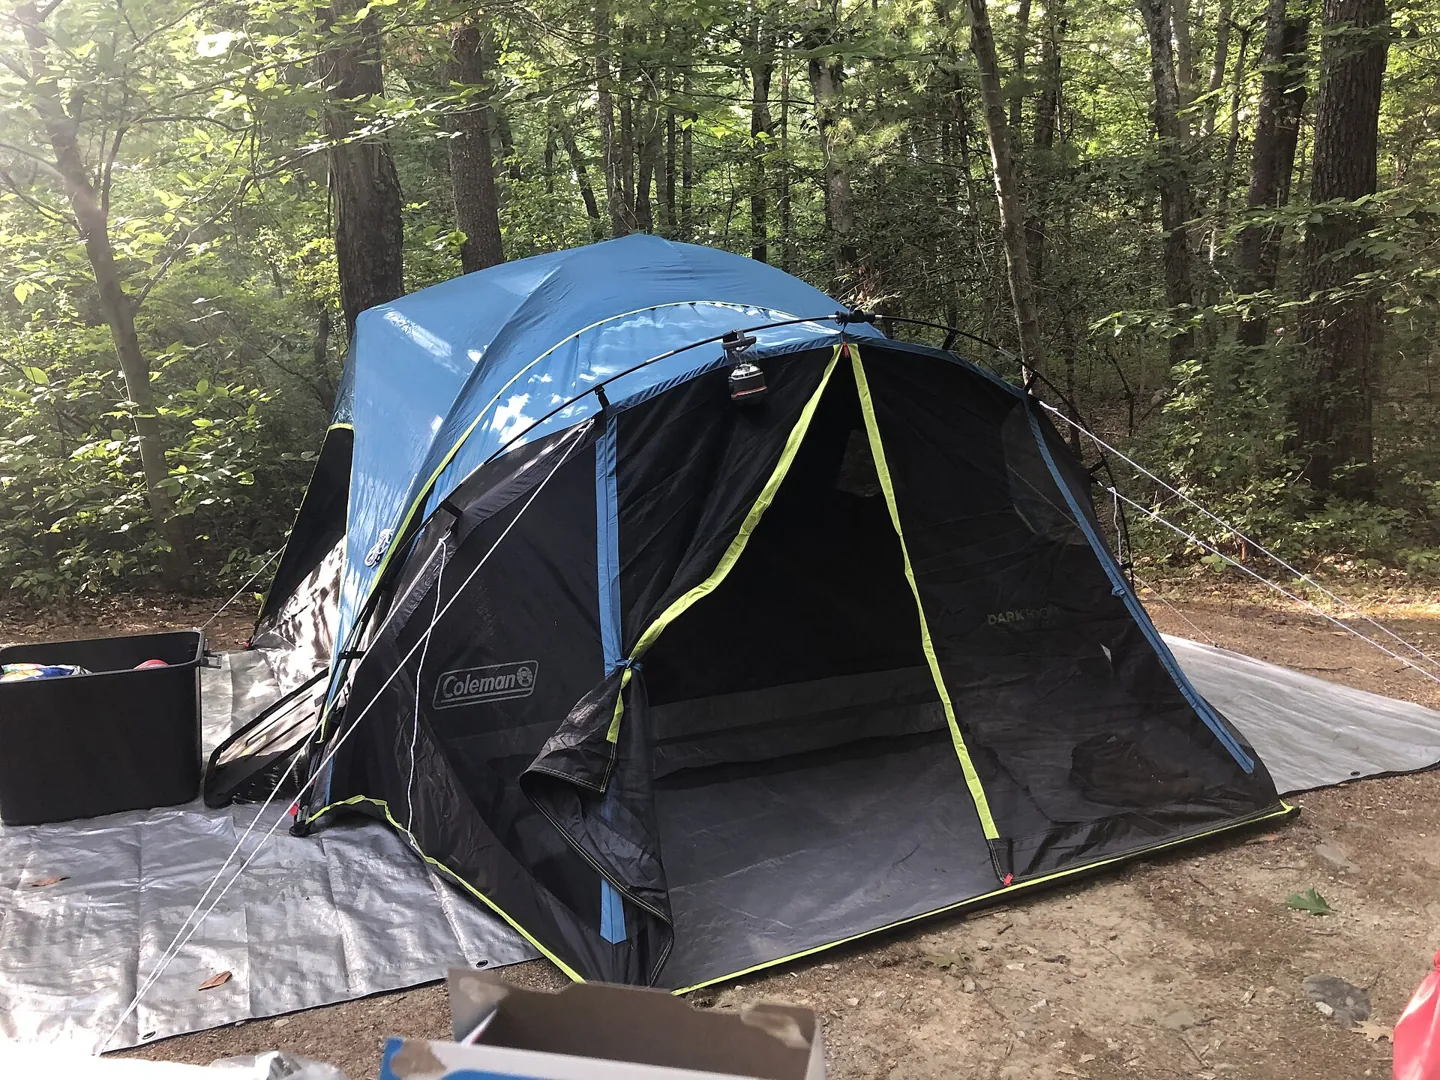
| Tent | Planned overnight accommodation and potentially useful emergency cover | Whether it can actually be pitched at the stopping place |
A sleeping bag provides insulation but may need protection from rain. A waterproof cover provides protection from weather but may contain little insulation. Read the specification for each layer rather than assuming that a bag-shaped object does both jobs. For general cold-weather planning, the guide to keeping warm explains why clothing and insulation matter alongside shelter.
A group shelter normally depends on its occupants to hold or support it as designed. It is not a freestanding room and should not be treated as unattended accommodation. Look at the manufacturer's diagrams and instructions. Check whether the stated number of people refers to sitting adults, and think about the actual members of your group.
Check fit with the people who will use it
Practise entry wearing normal walking layers and boots on safe ground. Can someone with stiff knees get inside? Can a companion help without tearing the material? Does a large rucksack have an intended place? A shelter that works with two lightly dressed adults in a shop may be cramped with winter jackets and wet packs.
Include children, mobility restrictions and communication needs in the decision. An enclosed space can be distressing for some people. Explain what the shelter is for before it becomes urgent, and agree how to signal discomfort. Do not assume everybody can hear a caller or see a demonstration through wet fabric.
Look for clear information on vents, seating panels, seams and storage. For example, the Lifesystems two-person survival shelter description identifies an air vent and waterproof seating panels. That is an example of information to verify, not a claim that this model is suitable for every trip. Compare the instructions for the exact model you own.
Pack the supporting equipment
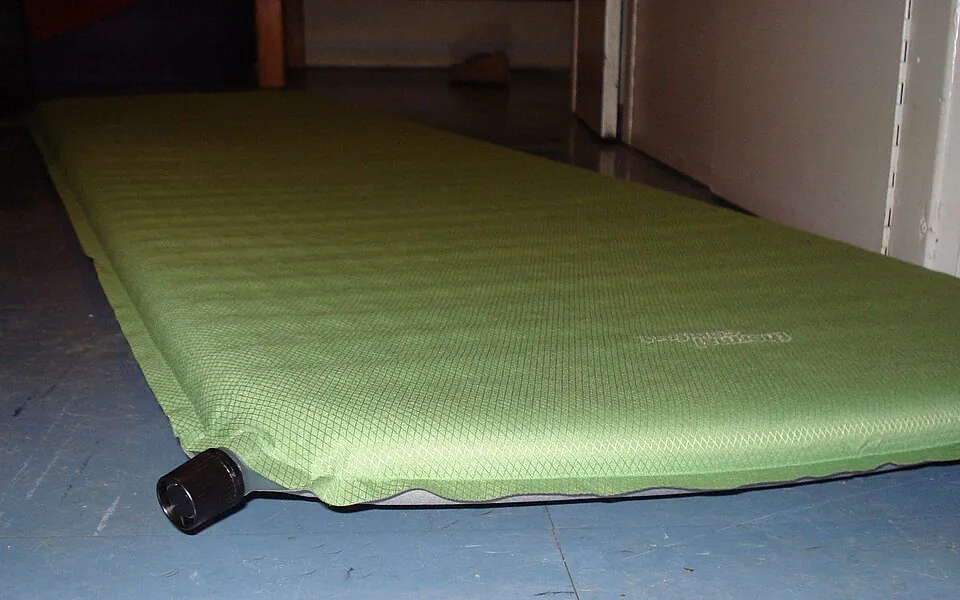
Make a list of what the shelter relies on. Useful supporting items may include a sit mat or sleeping mat, spare insulating layer kept dry, hat and gloves, headtorch, phone and power bank. Their value depends on access. If the shelter is under everything else, opening the whole pack in driving rain can soak the clothing you need next.
Keep a small, coherent stop kit near the top of the bag. You should be able to put on the extra layer and retrieve shelter without spreading equipment across a windy hillside. Decide who carries shared shelter and tell everyone where it is. If that person leaves the walk early, redistribute it rather than losing the group's protection.
Protect drinking water and ready-to-eat food separately from wet kit. Our walking water guide covers supply and treatment limits. A shelter plan that depends on cooking a meal during the emergency adds fuel, handling and weather problems. Food that can be eaten without heating is often easier to manage during a short unplanned stop.

Full image attribution
Camping tent on tarp.jpg — Eden Aviv; CC0. Resized and converted to WebP; source: https://commons.wikimedia.org/wiki/File:Camping_tent_on_tarp.jpg
Use a deliberate deployment sequence
- Stop in the safest available nearby position. Avoid gullies, watercourses, unstable trees, cliff edges and ground exposed to falling material.
- Bring everyone and their equipment together. Check whether urgent first aid or an emergency call is needed before concentrating on the shelter.
- Add spare clothing while people can still manage fastenings. Place suitable insulation underneath seated or lying occupants.
- Take out the shelter with a secure grip, open it according to its instructions and keep loose packaging contained.
- Help people enter without covering faces or blocking designed air openings. Arrange equipment so that nobody is sitting on a sharp object.
- Check communication, comfort and breathing space. Reassess conditions and make the next decision.
This is a rehearsal sequence, not a reason to move an injured person unnecessarily. If an injury makes entry difficult, seek emergency advice and use what protection can safely be arranged around the person. The first-aid training guide explains how to find practical courses; reading equipment instructions is not medical training.
If the original location is hazardous, moving a short distance may be necessary, but searching for a perfect sheltered hollow can introduce a worse risk. A hollow can collect water. A wall can have unstable stones. A tree can shed branches. Assess the actual ground, and tell rescuers about your location and any proposed movement.
Keep faces and vents clear
Do not seal a bag around the head or pull impermeable material over someone's face. Follow the manufacturer's opening and ventilation instructions. Check occupants directly rather than assuming that a shelter is comfortable because it looks tidy from outside. Snow, spare clothing and bags can obstruct a vent.
Moisture inside a shelter may come from condensation as well as a leak. Dampness is a reason to review ventilation, clothing and how equipment is arranged, not a reason to close every opening. A breathable fabric claim does not mean that moisture disappears in every condition. Keep dry insulation protected until needed.
Never run a stove, candle, barbecue or fuel-burning heater inside a bivvy, group shelter or enclosed tarp arrangement. Mid and West Wales Fire and Rescue Service warns against fuel-burning devices in tents. Fire and carbon monoxide remain hazards in smaller emergency shelters. Opening a vent does not make an indoor flame safe. See the separate stove and heater safety guide.
Know when shelter is not enough
A shelter does not resolve serious injury, inability to navigate, rising water or dangerous weather. It gives you a place to think and communicate, within its limitations. If somebody's condition is deteriorating or the group cannot leave safely, seek emergency help rather than waiting for the material to do more than it can.
For a mountain emergency, call 999 or 112 and ask for Police then Mountain Rescue. Explain your condition and location, and follow instructions. If navigation uncertainty is the cause of the stop, use the lost-on-the-hills decision guide. Do not emerge from shelter and continue towards a guessed route simply because everyone feels temporarily warmer.
Do not use a small emergency bag to justify starting a route that needs winter mountaineering skills or suitable overnight equipment. Planned camping requires a separate assessment of access, weather and equipment. Emergency shelter can fail, be damaged or be inadequate for the duration of a delay.

Full image attribution
Self-inflating mat.jpg — Pierrelagrange; CC BY 3.0. Resized and converted to WebP; source: https://commons.wikimedia.org/wiki/File:Self-inflating_mat.jpg
Run a short practice on an ordinary day
Choose a garden, permitted campsite or easy walking stop in benign weather. Read the instructions and practise taking the shelter out, entering it and putting it away. There is no need to simulate dangerous cold or use an exposed summit. The useful discoveries are simple: a zip catches, a bag is too small, or nobody knows where the opening is.
Try the task with your normal gloves and torch. Time is less important than being able to complete it without dropping gear. Ask each person to explain one limitation of the shelter. If the group treats the exercise as a demonstration by one expert, the next person may still be unable to deploy it when that expert needs help.
After use, dry, clean and inspect the shelter as its manufacturer advises. Check seams, vents and any damage around the entrance. A tightly packed wet shelter can be forgotten for months. Record any replacement or repair needed before it goes back into the walking bag. Do not rely on an unapproved patch for a critical seam without checking the manufacturer's advice.
If the trip includes a planned overnight stop, check camping toilets and waste arrangements as well. Emergency shelter does not settle camping permission or sanitation.
Before the next walk
- Confirm enough shelter capacity for the whole group.
- Keep individual essentials with their users and identify shared kit.
- Check ground insulation, dry clothing and lighting.
- Read the route-specific forecast and choose realistic turnaround points.
- Leave route details with a contact and carry a means of calling for help.
- Inspect and repack shelter after practice rather than leaving it wet.
Common questions
Is an emergency bivvy warm enough to sleep in?
There is no universal answer. Many emergency bags have little insulation and are intended to reduce exposure during an unplanned stop. Planned overnight use needs a complete sleep system matched to conditions and the person.
Does a group shelter replace everyone's warm layer?
No. Clothing, ground insulation and shelter do different jobs. People also need protection while setting up, moving or waiting outside the shelter.
Can I use it for lunch?
If the maker intends that use and the location is safe, a brief sheltered stop can provide useful practice. Keep ventilation clear, avoid flames and do not let comfort obscure worsening weather or the return time.
Should I carry a tent instead?
That depends on the trip and whether the tent can be used at a likely stopping place. Compare weight, pitching requirements, group capacity and access. A tent already carried for camping may help, but it does not remove the need to plan an emergency stop.
Sources
- Mountaineering Scotland: Emergency and group kit to carry when heading out in the hills. Checked 2 November 2026.
- Lifesystems: Survival Shelter 2. Checked 2 November 2026.
- Mid and West Wales Fire and Rescue Service: Camping safety advice. Checked 2 November 2026.
- Mountain Rescue England and Wales: In case of emergency. Checked 2 November 2026.